
本ページは広告が含まれています。気になる広告をクリック頂けますと、サーバ運営費になります(^^
RADIUS認証
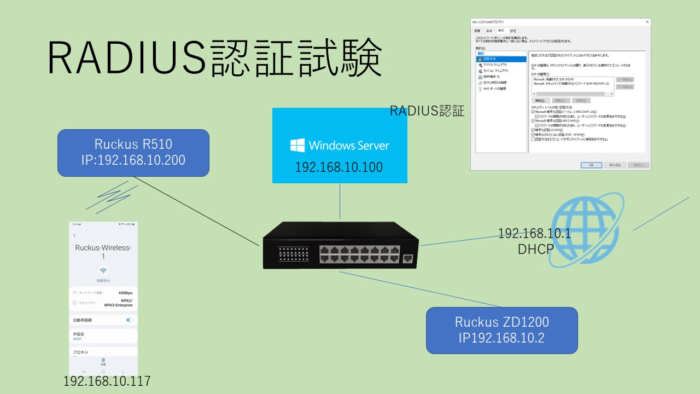
今回構築の構成
Windows 2022 SrvにてRADIUSサーバ設定を行い、Ruckus ZD1200からWindows2022SrvのRADIUS認証サービスにアクセスする
WindowsServer2022 : 192.168.10.100
RucusZD1200(コントローラ):192.168.10.2
RucusR510(AP):192.168.10.200
スマホ:DHCPにてIPアドレスを取得
ルータ:192.168.10.1
ActiveDirectoryサーバの構築
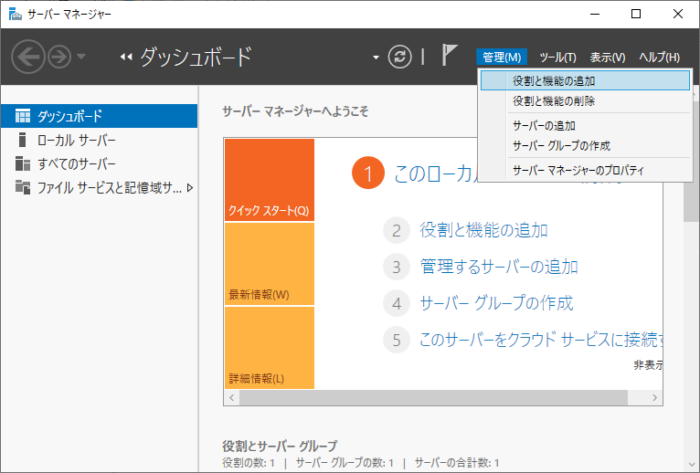
役割と機能の追加
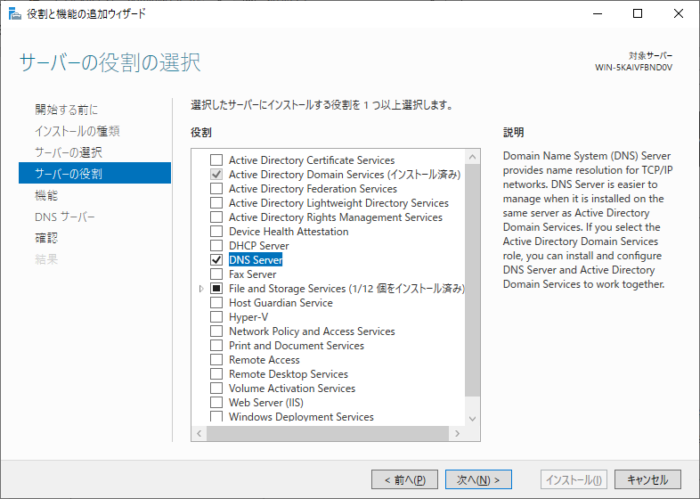
DNSサーバをインストールしておく
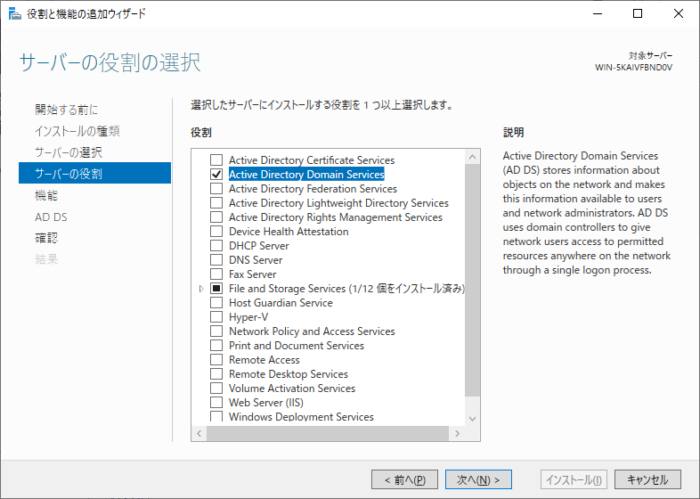
Active Directory Domain Servicesを選択
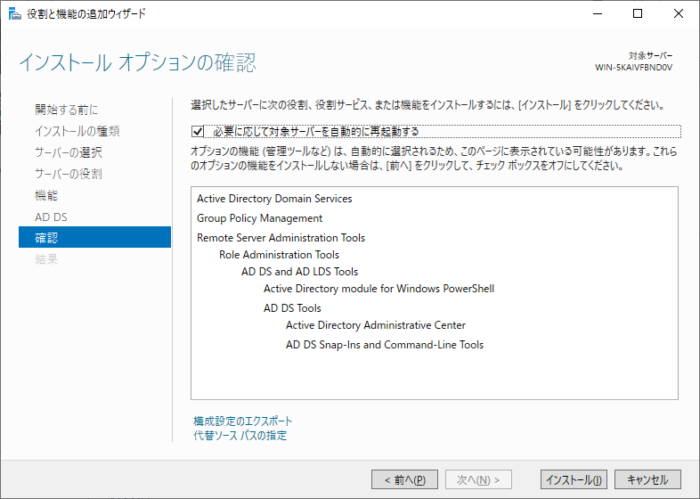
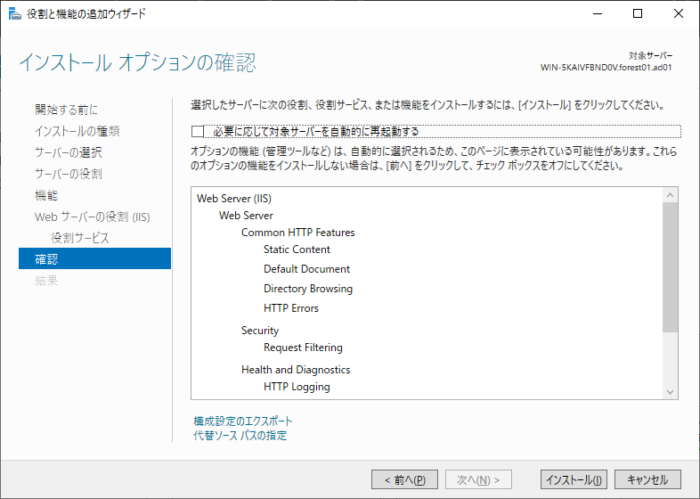
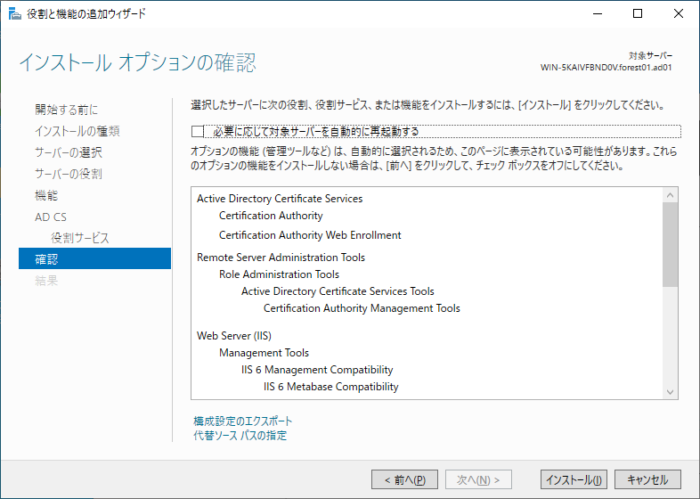
インストールオプションの確認
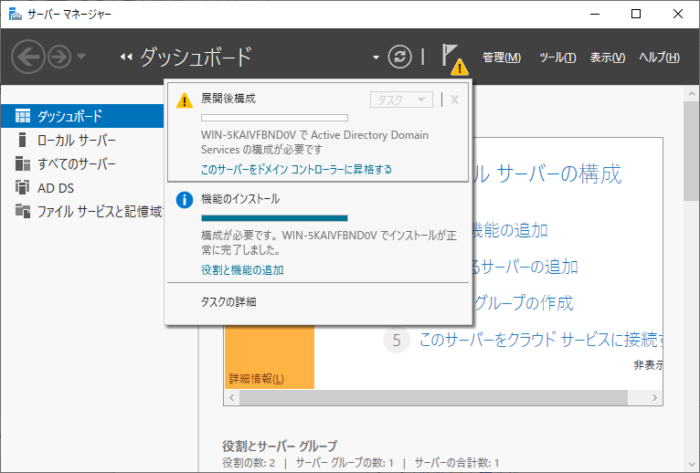
インストール完了後、「このサーバーをドメインコントローラーに昇格する」をクリック
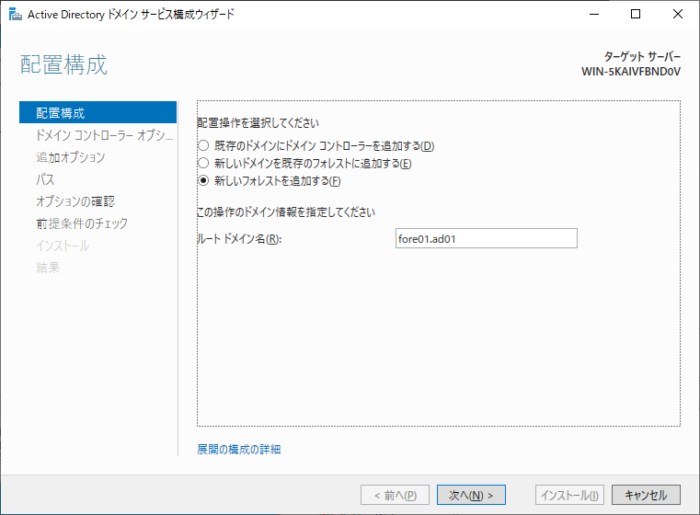
新しいフォレストを追加する
ルートドメイン名をad01とする
オプション
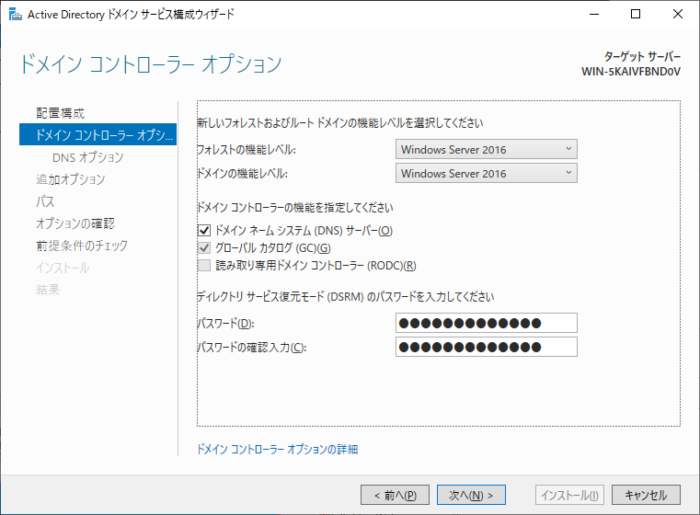
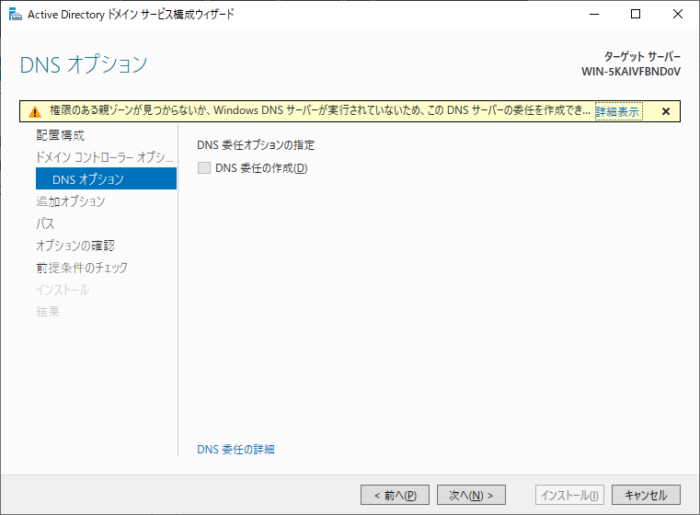
DNSオプション
権限のある親ゾーンが見つからないか、あっても Windows DNS サーバーが実行されていないため、この DNS サーバーの委任を作成できません。既存の DNS インフラストラクチャと統合する場合は、ドメイン “forest01.ad01” 外からの名前解決が確実に行われるように、親ゾーンでこの DNS サーバーへの委任を手動で作成する必要があります。それ以外の場合は、何もする必要はありません。
親ゾーンはないので、無視して大丈夫
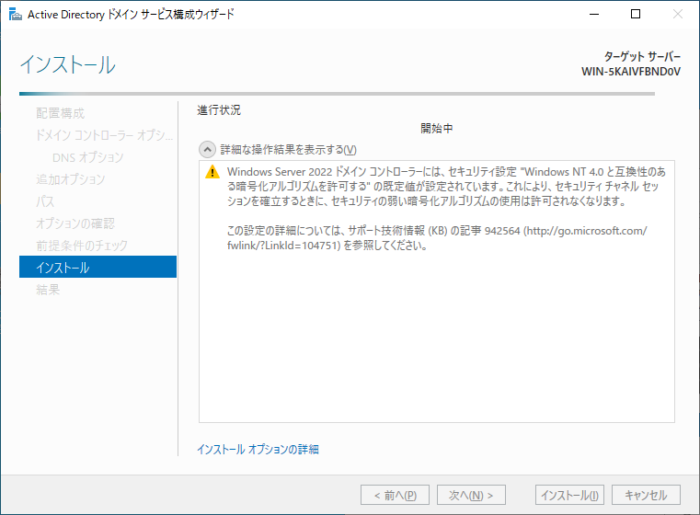
色々警告出てだけど、そのまま気にせず昇格
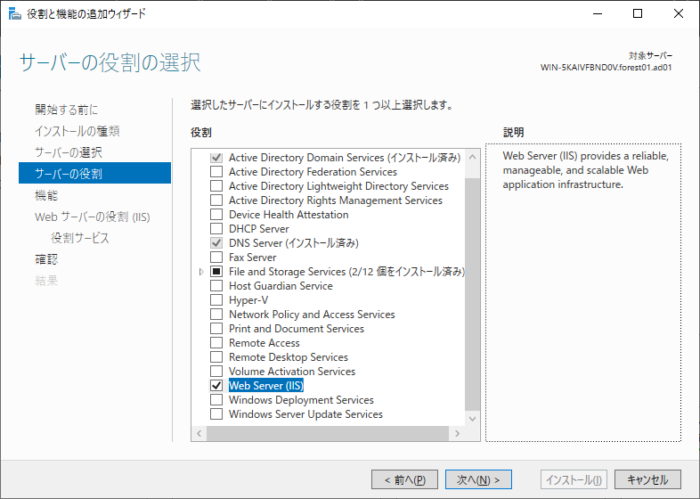
IISサーバのインストール
役割と機能の追加ウィザードにて、Web Server(IIS)を選択してインストールする
他のオプションはそのまま次へ
Active Directory Certificate Serviceをインストール
サーバの役割の選択にて、Active Directory Certificate Serviceをインストールする
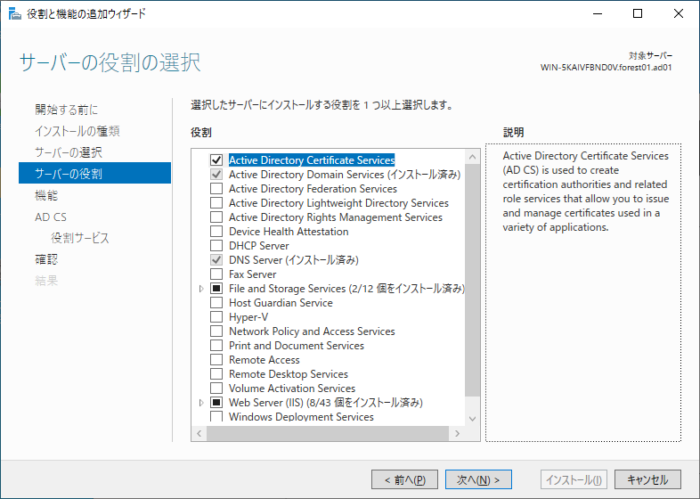
役割サービスの選択で
Certification Authority(証明機関)
Certification Authority Web Enrollment(証明機関web登録)
を選択
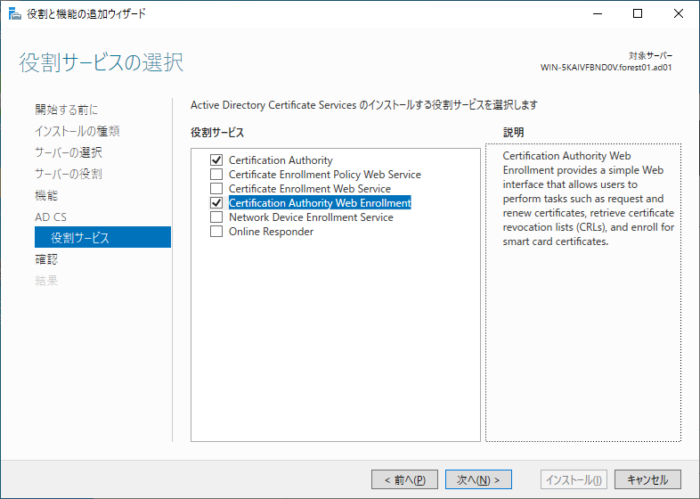
日本語表示だとこんな感じ
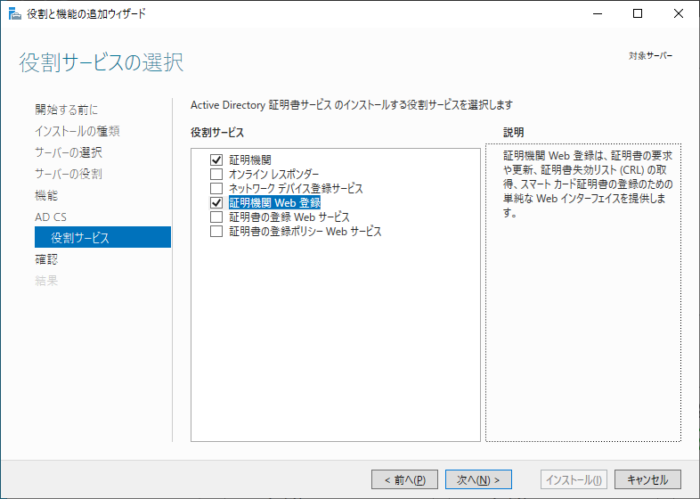
としてインストールする
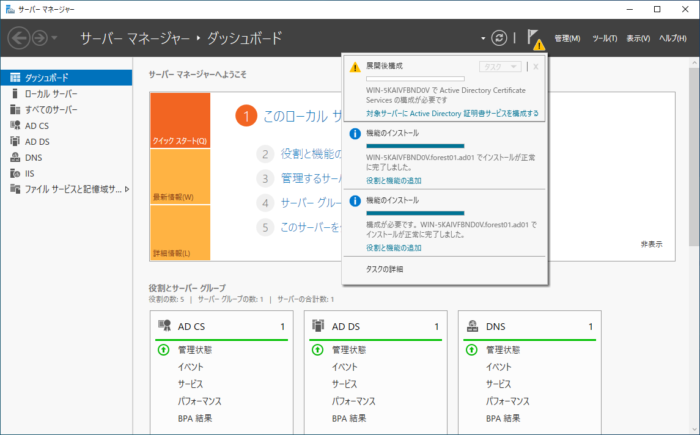
インストール後 「対象サーバにActive Directory 証明書サービスを構成する」をクリック
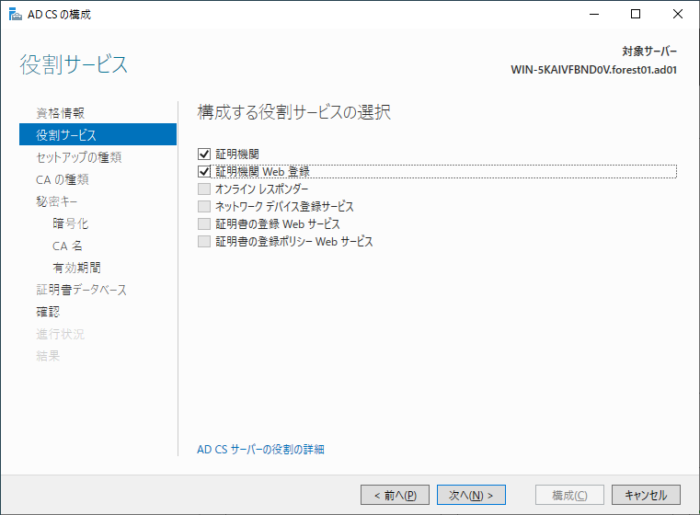
役割サービスを構成するための証明書を指定

証明機関
証明機関web登録
の2つにチェックを入れる
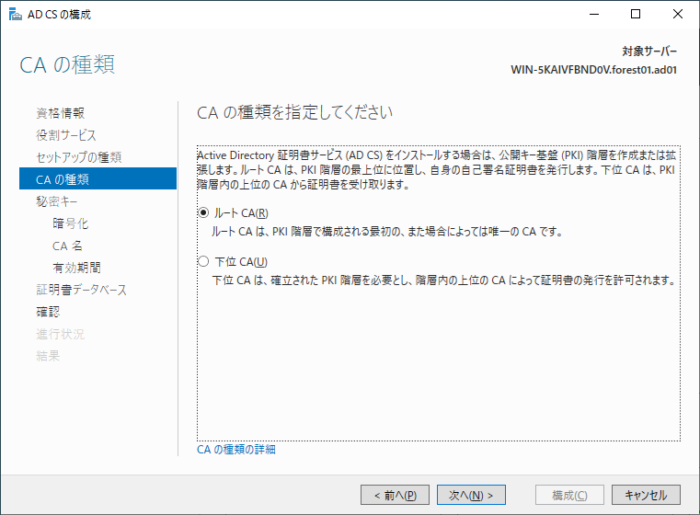
エンタープライズCAにチェックが入っている状態で
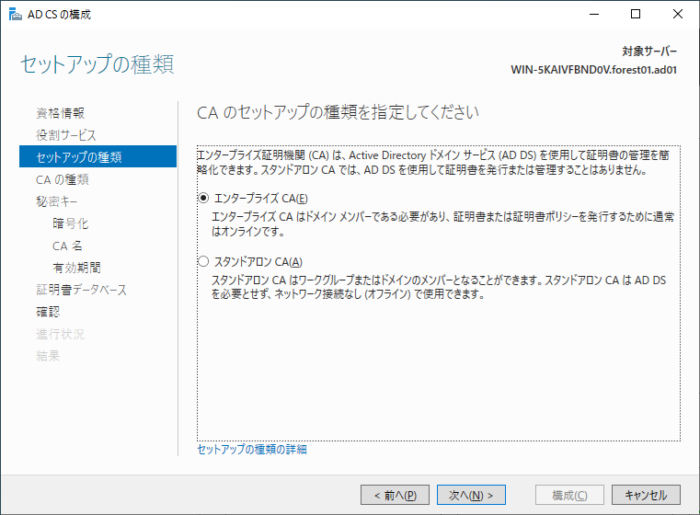
ルートCAとする
新しい秘密キーを作成し
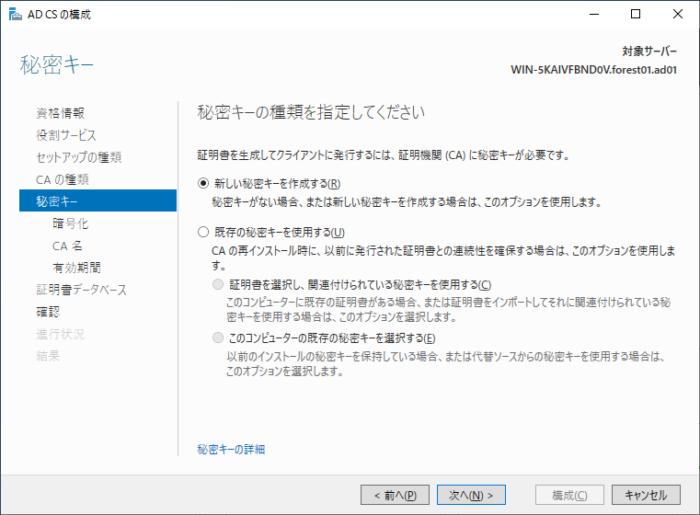
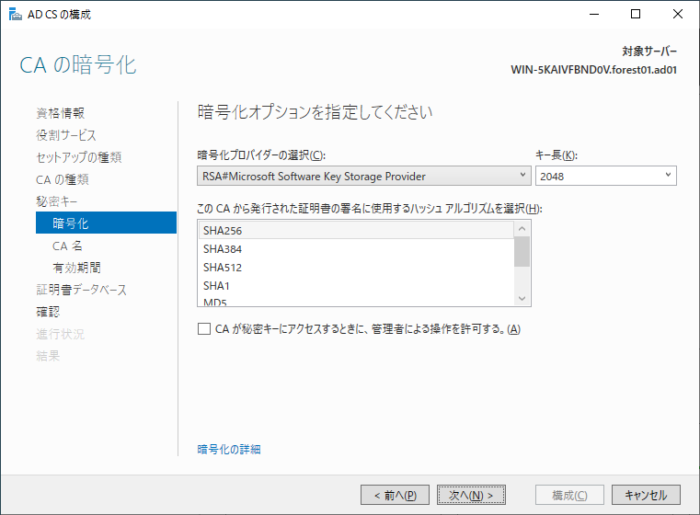
暗号オプションはそのまま
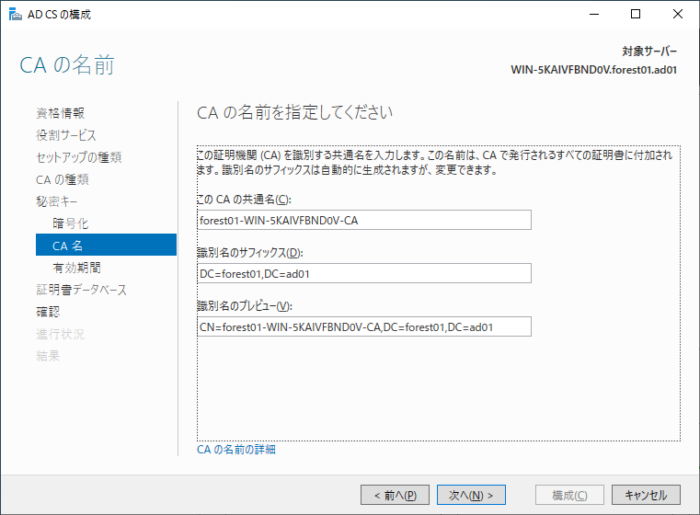
CAの名前などもそのまま
期間も長めにとって10年として
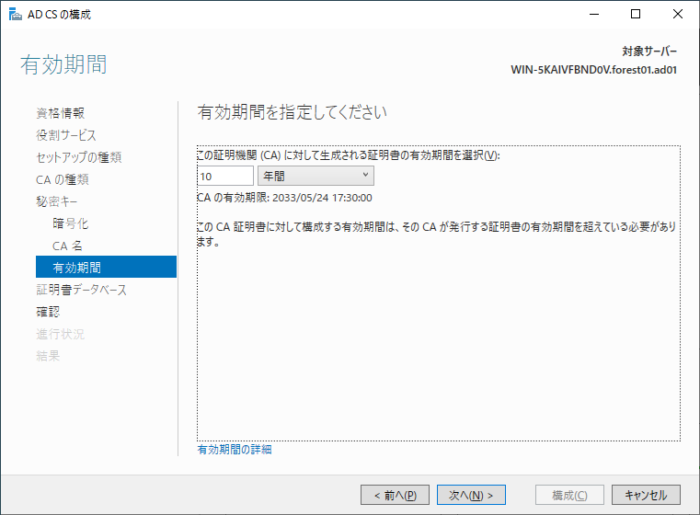
インストールを行う

NPSのインストール
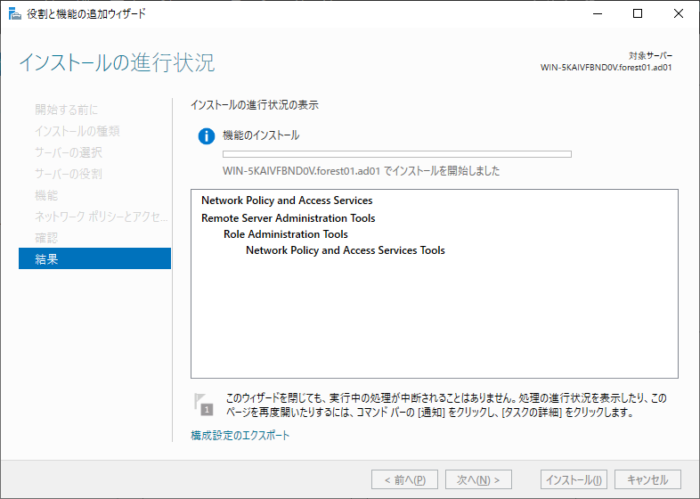
Network Policy and Access Serviceをインストール
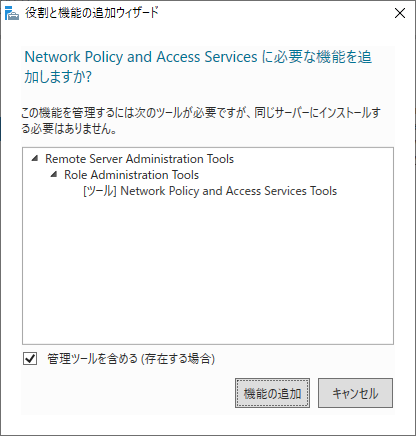
機能の追加などは特に行わない
DHCP Serverの追加
DHCP Serverをインストールする

機能の選択では何も選ばない
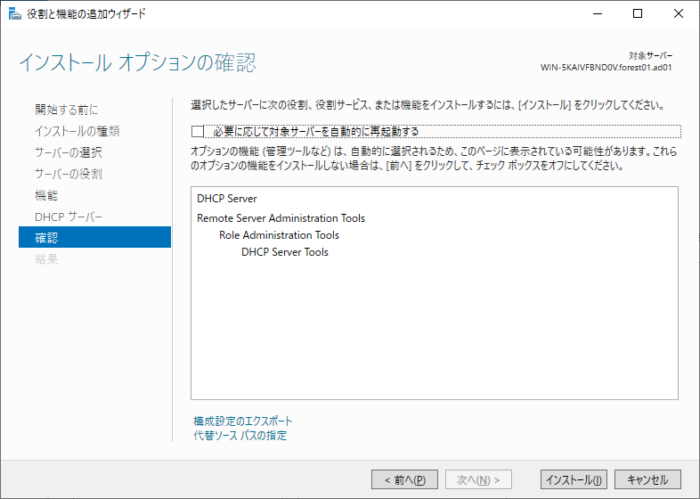
インストール内容の確認
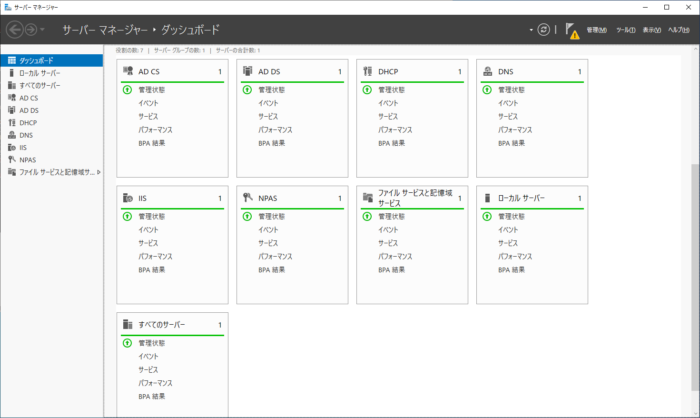
サーバマネージャ → ダッシュボードを見ると、機能を追加したサービス一覧が分かる
IEEE802.1X認証の設定
サーバーマネージャ → ツール → Active Directory ユーザーとコンピュータから、Usersディレクトリを右クリック、新規作成→ユーザでユーザを作成する
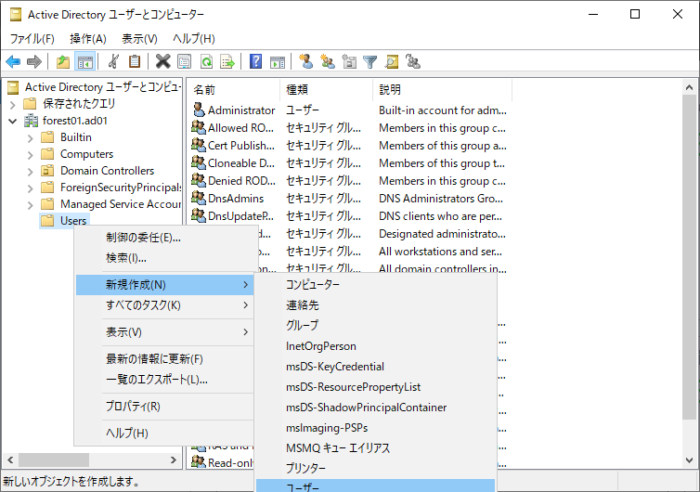
認証のユーザとして、user1を作成する

今回はテストなので
ユーザ名:user1
パスワード:User777!
で作成

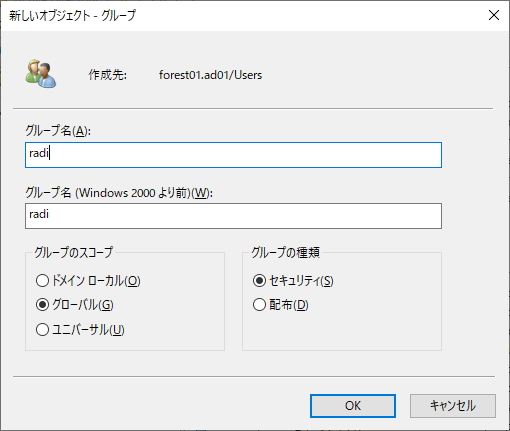
グループを作成
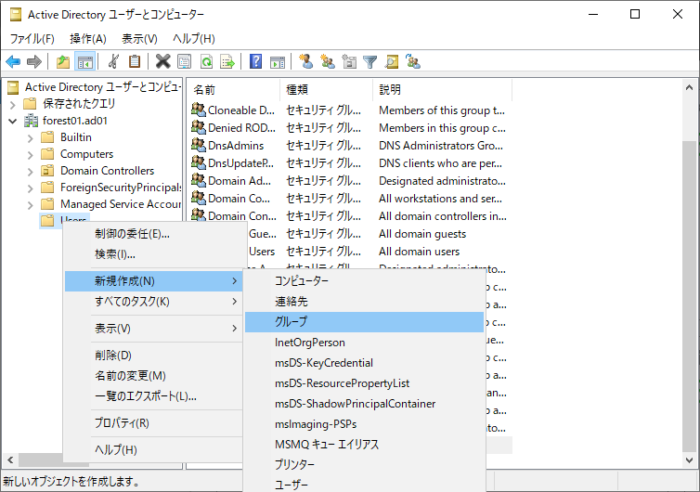
グループ名 radi を作成
user1をradiグループに所属させる
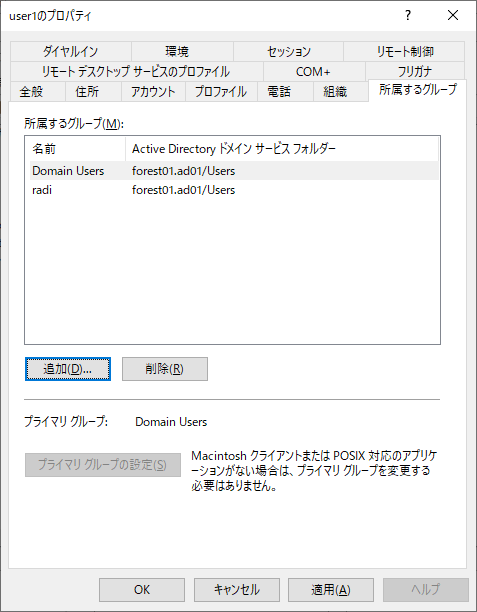
「ダイヤルイン」のリモートアクセス許可を、「アクセスを許可」に設定
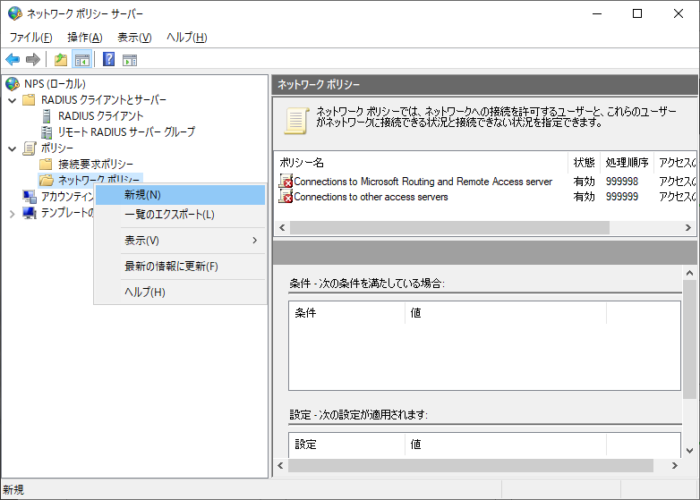
NPSの設定
サーバーマネージャ → ツール → ネットワークポリシーサーバを開き、NPS(ローカル)を右クリック、Active Directoryにサーバを登録をクリックする。
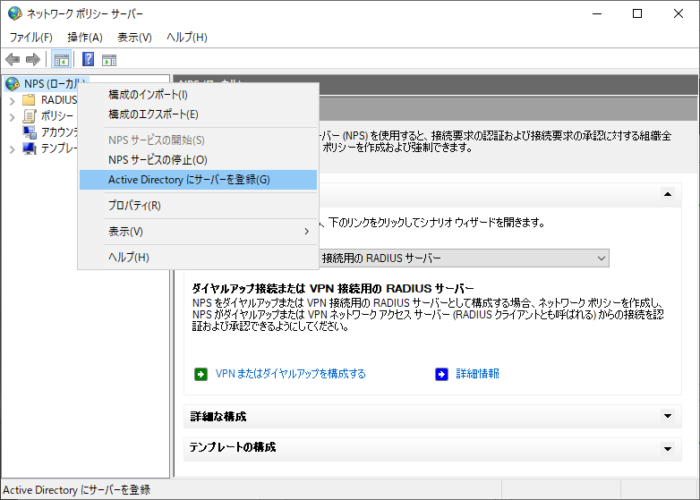
ダイヤルインプロパティをドメインから読み取る権限をこのコンピュータに与えますか?というダイヤログボックスが表示されるので、OKをクリック
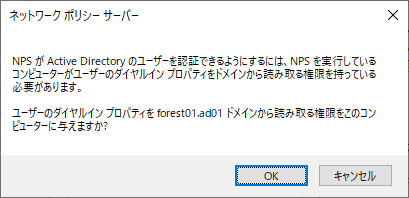
権限を取得しましたが表示されるので、OKをクリック

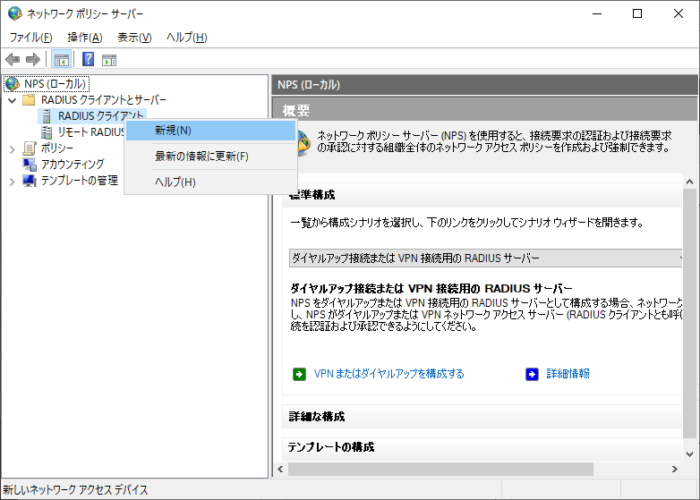
RADIUSクライアントを作成します。RADIUSクライアントを右クリック新規
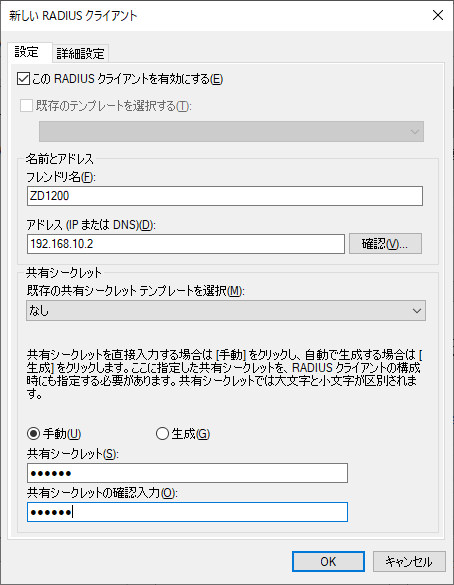
新規RADIUSクライアント画面で、今回はZD1200を認証スイッチとして利用しますので、ZD1200のIPアドレスを入力します。
フレンドリ名:ZD1200
アドレス:192.168.10.2
共有シークレット:zd1200
条件の設定
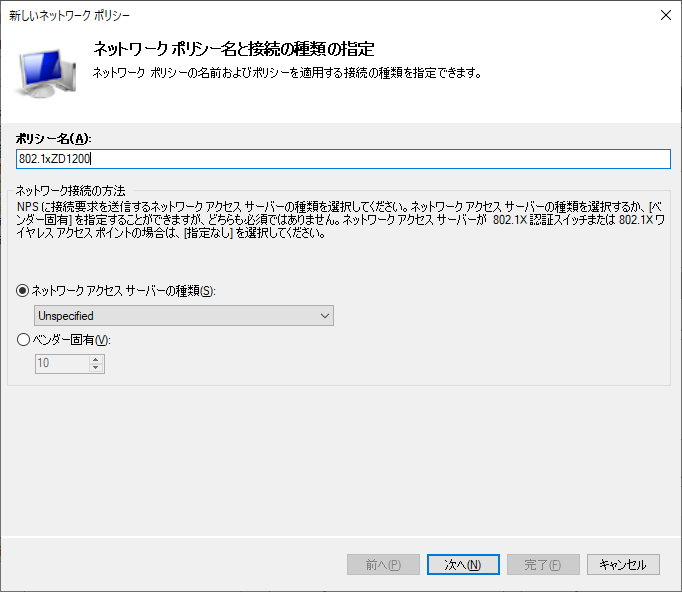
ネットワークポリシーを右クリック→新規
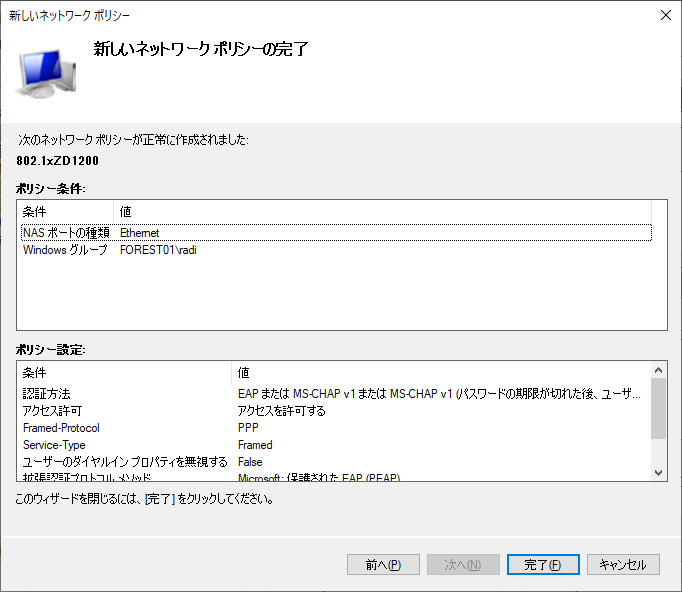
ポリシー名:802.1xZD1200
追加ボタンを押して
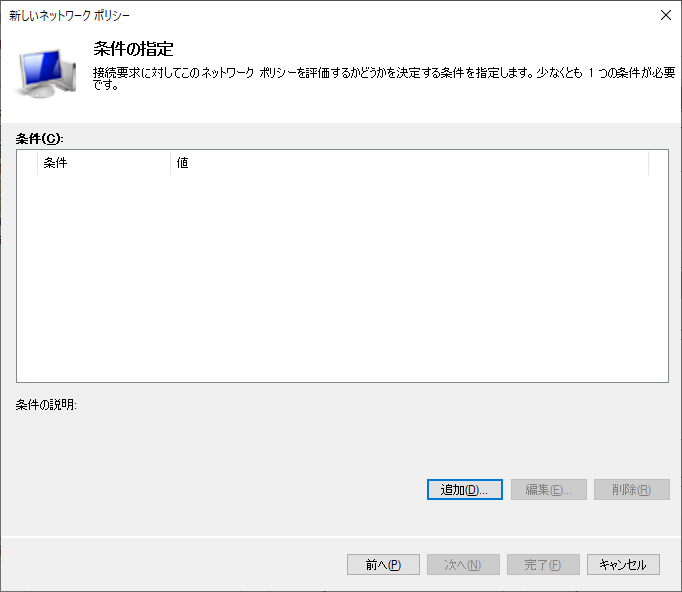
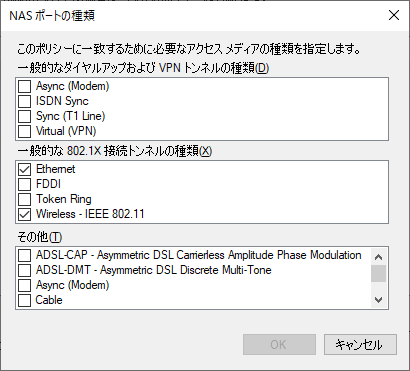
NASポートの種類を選択して「追加」ボタンを押す
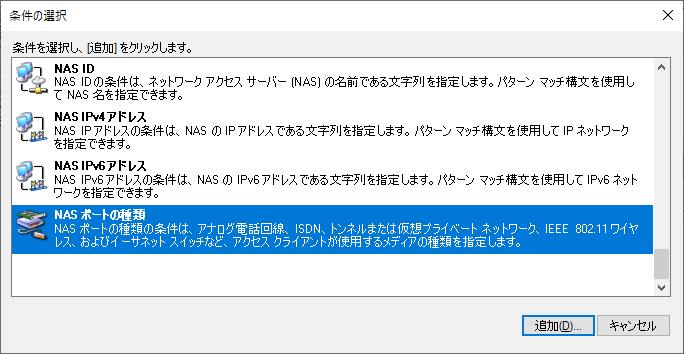
EthernetとWireless – IEEE 802.11をチェックして[OK]
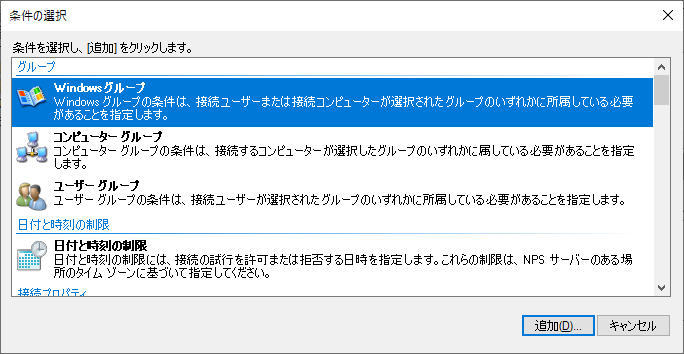
さらにWindowsグループを選択して[追加]
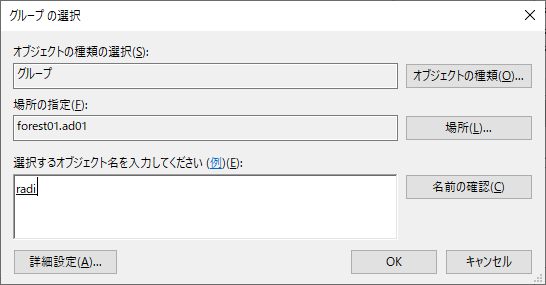
グループを追加する
グループは、先ほど追加しておいたグループ radi を選択してOK
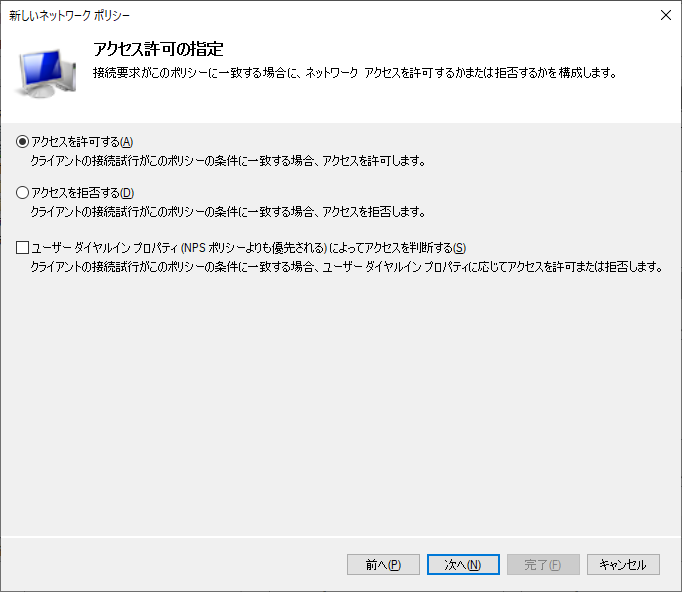
「アクセスを許可する」をチェックして次へをクリック
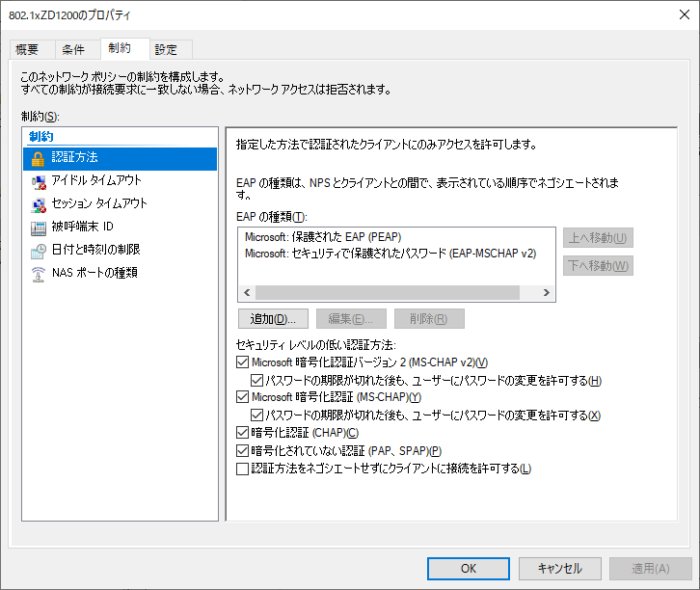
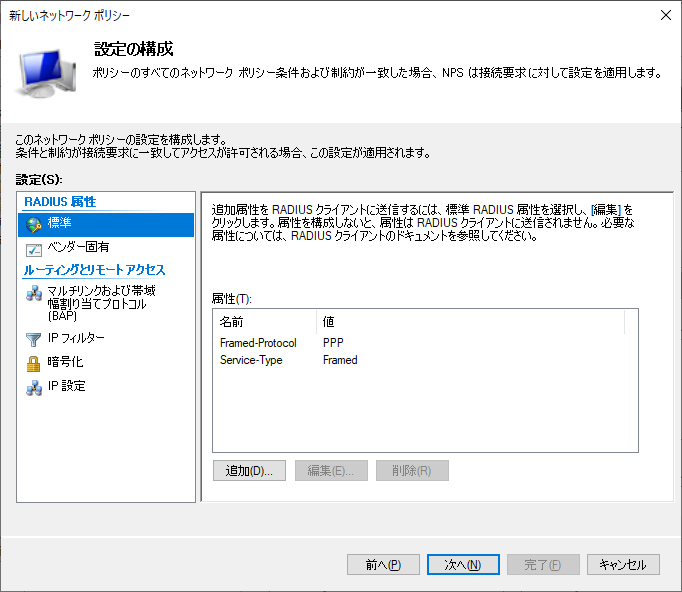
認証方法の構成は PEAPを追加する
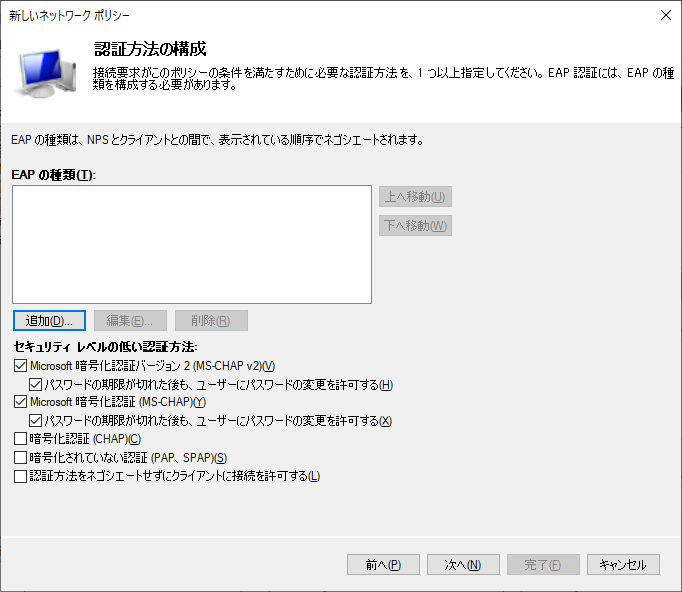
追加をクリックし
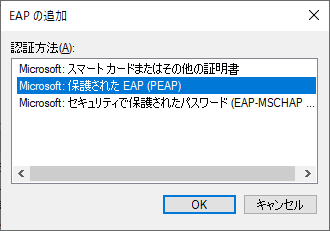
さらに Microsoft:セキュリティで保護されたパスワード(EAP-MSCHAP v2)を追加し、
暗号化認証(CHAP)
暗号化されていない認証(PAP、SPAP)
の両方にチェックを入れる
制約の構成はそのまま次へ
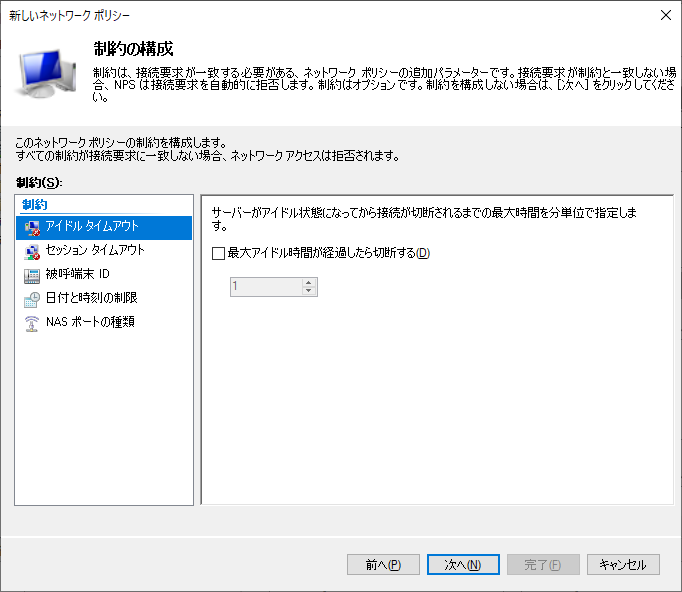
VLANを構成している場合は追加するが、今回はテストで追加せずそのまま次へ
ネットワークポリシーの完了
ZD1200から認証できるか試験
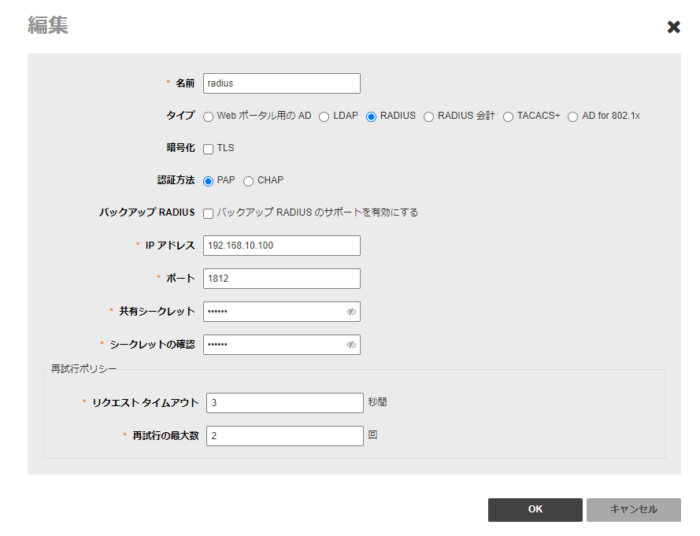
RADIUS認証サーバを登録する
サービス&プロファイル → AAAサーバ
設定項目
名前:radius(任意)
タイプ:RADIUS
認証方法:PAP
IPアドレス:192.168.10.100(ZD1200のアドレス)
認証が通るかテスト
認証/アカウント サーバ設定のテスト においてユーザ名・パスワードを入力し「テスト」ボタンを押す事でテストできる。
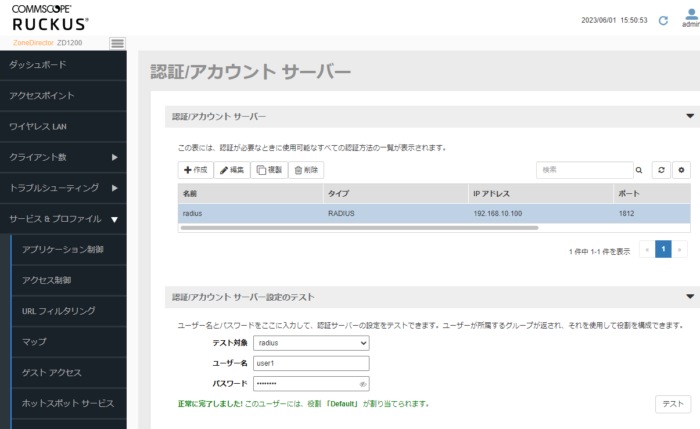
正常に完了しました!
と表示されればOK