本ページは広告が含まれています。気になる広告をクリック頂けますと、サーバ運営費になります(^^
もっとWordPressっぽいFlatFileCMS
国産という言葉にひかれJS CMSを設置してみました。簡単に設置でき編集も可能でちょっと感動していましたが、やっぱりWordPressに比べれば使い勝手が悪い。
では国産にこだわらなければもっといいのがあるのでは?
とりあえず動かす
どれがいいのか分からなかったので、とりあえずFlatFileCMS動かしてみました。
Typesetter
最新のWordpress 5.0系に似たエディタ形式になっていて、プラグイン・テーマなどダウンロード可能なCMSです。
[browser-shot url=”http://www.typesettercms.com/” width=”600″ height=”450″ target=”_blank”]
設定してみる
wget http://www.typesettercms.com/Special_gpEasy?cmd=download
解凍
apt-get install unzip
unzip Special_gpEasy\?cmd\=download
配置
mv Typesetter/ /usr/local/nginx/html/type
URL


Nginx コンフィグ設定
やっぱりNginxではちょっとコンフィグをいじる必要性がありそう
nginx.conf
    server {
        listen       80;
        root /usr/local/nginx/html/type;
        index index.php index.html index.htm;
        server_name  cloudn01.hanako.jp;
        #charset koi8-r;
        #access_log  logs/host.access.log  main;
        location / {
                try_files $uri $uri/ /index.php?$args;
        }
        #error_page  404              /404.html;
        # redirect server error pages to the static page /50x.html
        #
        error_page   500 502 503 504  /50x.html;
        location = /50x.html {
            root   html;
        }
        location ~ \.php$ {
                fastcgi_pass unix:/var/run/php/php7.0-fpm.sock;
                fastcgi_index index.php;
                fastcgi_param SCRIPT_FILENAME $document_root$fastcgi_script_name;
                include fastcgi_params;
        }
    }
なんか動いた感じ
ユーザ権限調整
ユーザ権限の変更
# chown -R www-data:www-data data/
私は、nginxの実行ユーザをwww-dataに変更してあるので
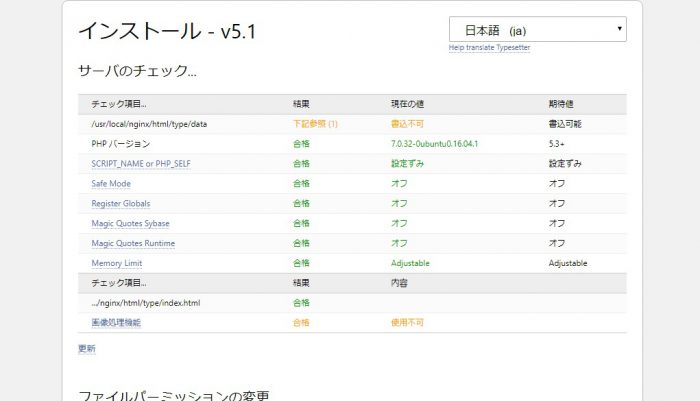
ちゃんと日本語表記になってくれるところが嬉しい、権限変更で書込み可能になった。
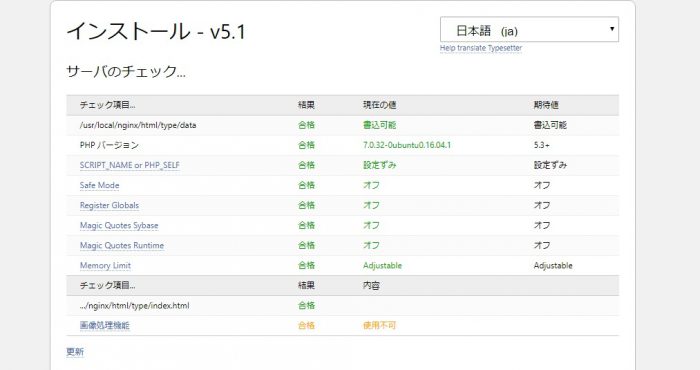
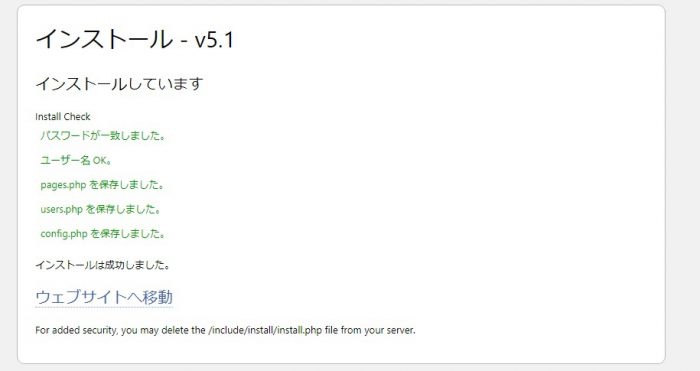
インストール完了
ページ作成してみる
早速ページを作る
画像をアップして設定しようとするとエラー表示が
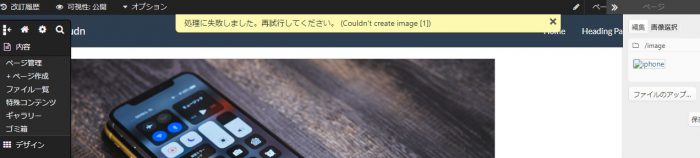
Could’t create image
処理に失敗しました。再試行してください。
との事で、
apt-get install php7.0-gd
としたらちゃんと画像も設定保存できるようになった。
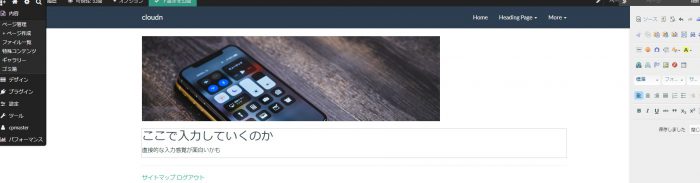
右側のツールパレットを表示、画面にオブジェクトを入れる事ができるので、そのオブジェクトを直接編集する形になる。
比べちゃいけないが、やっぱり使用感としてはWordPressの方が勝ね。
テーマをダウンロードする機能あり
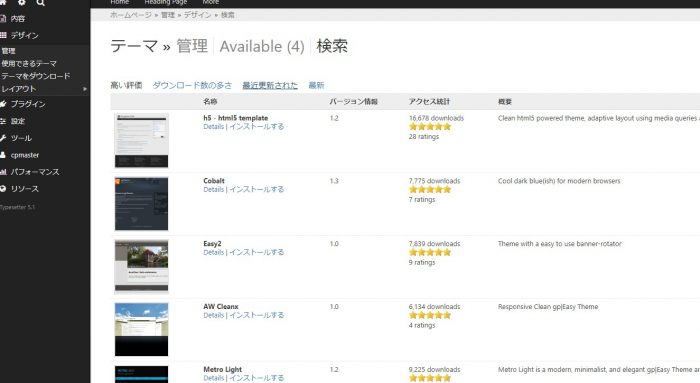
プラグインもダウンロードする機能あります
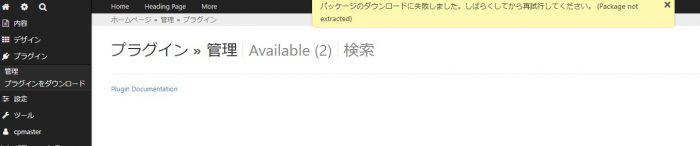
ただ、「パッケージのダウンロードに失敗しました。しばらくしてから再試行してください。(Package not extracted)」というエラーが出たので
apt-get install php7.0-zip
として、php7.0-zipをインストール
無事プラグインも使えるようになりましたが、やっぱり使うのには慣れも必要でWordPressを利用しているような感覚では作れない。
だけどflat fileでもここまでできるんだなってすごいと思います。
フラットファイルCMSを同居させたい
ルートディレクトリではない場所に設置
ルートディレクトリではない場所にtypesetterを配置したい場合のnginx.conf
以下が必須項目となります。
        index index.php index.html index.htm;
        server_name  cloudn01.hanako.jp;

        location /type/ {
            index  index.html index.htm index.php;
            try_files $uri $uri/ /type/index.php?$args;
        }

        location ~ \.php$ {
                fastcgi_pass unix:/var/run/php/php7.0-fpm.sock;
                fastcgi_index index.php;
                fastcgi_param SCRIPT_FILENAME $document_root$fastcgi_script_name;
                include fastcgi_params;
        }
ちょっと試した感じだと、画像をアップしてエディターの中に入れ込めみ、だいたいの完成予想図を確認しながら編集していく事が可能です。
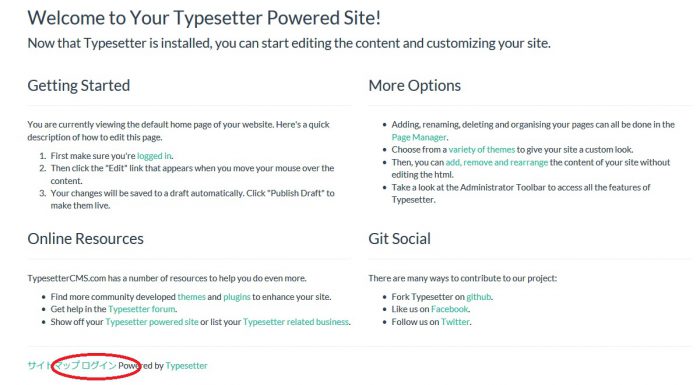
次に開いた時のログイン
管理画面にログインするには、左下に出てくるログインボタンを押して管理画面に入る事が出来ます。
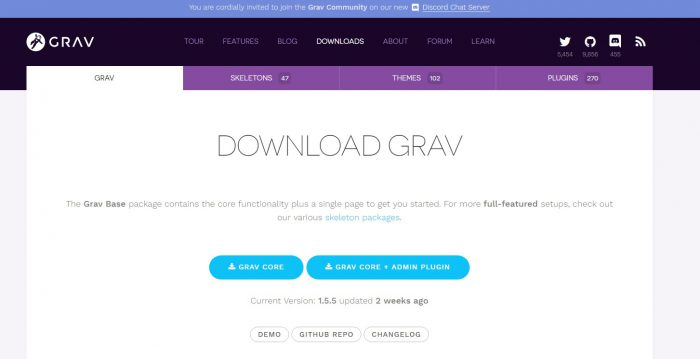
Gravを試す
Gravのダウンロード
wget https://getgrav.org/download/core/grav-admin/1.5.5
ダウンロードファイルの解凍
unzip 1.5.5
配置
# mv grav-admin/ /usr/local/nginx/html/grav
アクセス権
# chown -R www-data:www-data /usr/local/nginx/html/
# chmod -R 755 /usr/local/nginx/html/
phpインストール
apt-get install php-gd php-mbstring php-dom
おお!動いた
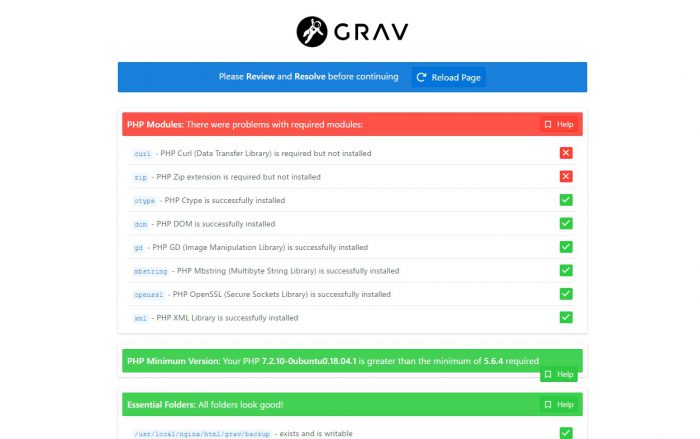
足りてなさそうなphpモジュールをインストール。×がついているやつ。
apt-get install php-curl php-zip
nginx.confの設定
    server {
        listen       80;
        server_name  cloudn.hanako.jp;
        root /usr/local/nginx/html/grav;
        index  index.php index.html index.htm;
        client_max_body_size 100M;
        #charset koi8-r;
        #access_log  logs/host.access.log  main;
        location / {
                try_files $uri $uri/ /index.php?_url=$uri&$query_string;
        }
        location ~ \.php$ {
                fastcgi_pass unix:/var/run/php/php7.2-fpm.sock;
                fastcgi_index index.php;
                fastcgi_param SCRIPT_FILENAME $document_root$fastcgi_script_name;
                include fastcgi_params;
        }
}
動きました
ログインしてみる
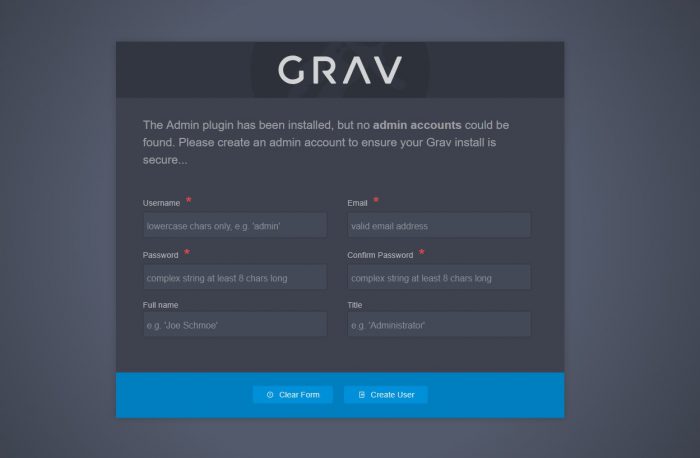
パスワードは1文字以上の大文字、数字が必要
日本語表示設定
ユーザ設定の画面に言語選択があります。
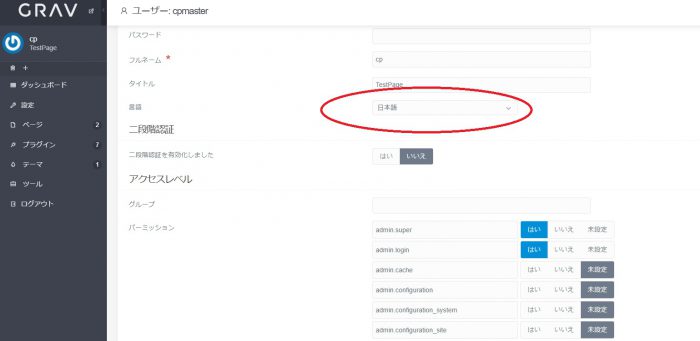
日本語化もばっちり対応しています。
管理URL

テーマも、プラグインも豊富に準備されてます。
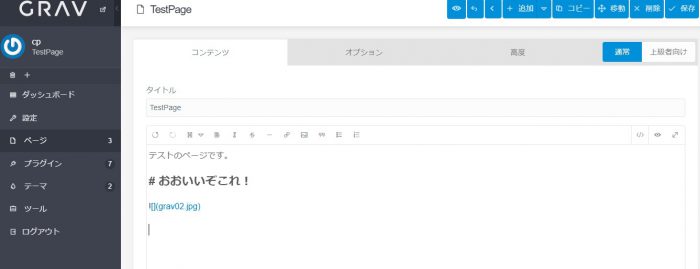
メディアが使いづらい
見出しは、WordPressと一緒で使いやすい。だけど、メディアの取り扱いがイマイチです。メディアを追加してプレビューしながら編集する機能はなく、メディアと、プレビューは切り替えなきゃいけない。
私にとってはこれが一番のマイナスポイントです。
WordPressだと、youtube URLを貼り付けると、そのまま動画サムネイルがURLリンクになってくれるので大変便利なわけですが、やっぱりGravはそこまでの対応はなかったです。
他のフラットファイルCMSと同居
nginxにディレクトリを切って、他のフラットファイルCMSと同居させたい場合はこんな感じです。

で公開します。
        index index.php index.html index.htm;
         server_name  cloudn01.hanako.jp;
         location /grav/ {
             index  index.html index.htm index.php;
            try_files $uri $uri/ /grav/index.php?_url=$uri&$query_string;
         }
         location ~ \.php$ {
                 fastcgi_pass unix:/var/run/php/php7.0-fpm.sock;
                fastcgi_index index.php;
                 fastcgi_param SCRIPT_FILENAME $document_root$fastcgi_script_name;
                 include fastcgi_params;
         }
管理画面へのログインはとなります。

Bluditを試す
[browser-shot url=”https://www.bludit.com/” width=”600″ height=”450″ target=”_blank”]
ダウンロード
wget https://bludit.s3.nl-ams.scw.cloud/bludit-3-4-0.zip
解凍
bludit# unzip bludit-3-4-0.zip
設置
bludit# mv bludit-3-4-0 /usr/local/nginx/html/bludit
URLアクセス

メッセージ
PHP modules missing:PHP module mbstring is not installed. PHP module gd is not installed. PHP module dom is not installed. Please read Bludit requirements.
PHP拡張インストール
# apt-get install php-gd php-mbstring php-dom
アクセス許可を書け
Writing test failure, check directory “bl-content” permissions.
/usr/local/nginx/html/bludit# chmod -R 777 bl-content/
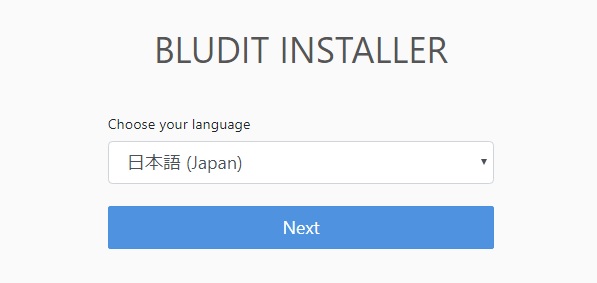
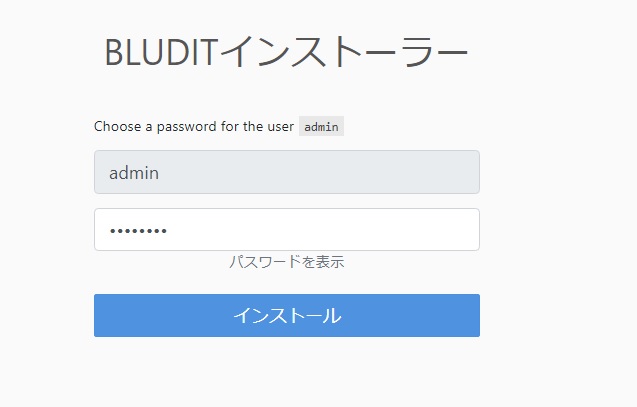
再度インストーラへ
日本語が準備されている事に感動
パスワードを決めて
最低限のngix調整
ここを参考
    server {
        listen       80;
        server_name  localhost;
        #charset koi8-r;
        #access_log  logs/host.access.log  main;
        location / {
            root   html;
            index  index.html index.htm index.php;
            try_files $uri $uri/ /index.php?$args;
        }
        # redirect server error pages to the static page /50x.html
        #
        error_page   500 502 503 504  /50x.html;
        location = /50x.html {
            root   html;
        }
        location ~ \.php$ {
             fastcgi_pass unix:/var/run/php/php7.0-fpm.sock;
             fastcgi_index index.php;
             fastcgi_param SCRIPT_FILENAME $document_root$fastcgi_script_name;
             include fastcgi_params;
        }
        location ^~ /bl-content/databases/ { deny all; }
        location ^~ /bl-content/workspaces/ { deny all; }
        location ^~ /bl-content/pages/ { deny all; }
        location ^~ /bl-kernel/*.php { deny all; }
    }
Flatpressを試す
flatpress特徴
標準準拠(XHTML有効)
SQLで練習する必要はありません
簡単にバックアップ!1つのディレクトリをコピーするだけです
簡単なプラグインシステム
ウィジェットのサポート
テーマを使って簡単にカスタマイズできます(Smartyによって強化されています)
FlatPressはGNU GPLv2の下 でフリーソフトウェアです
インストール方法
ファイルをダウンロード
解凍
フォルダの配置
phpファイルにアクセス
インストール手順
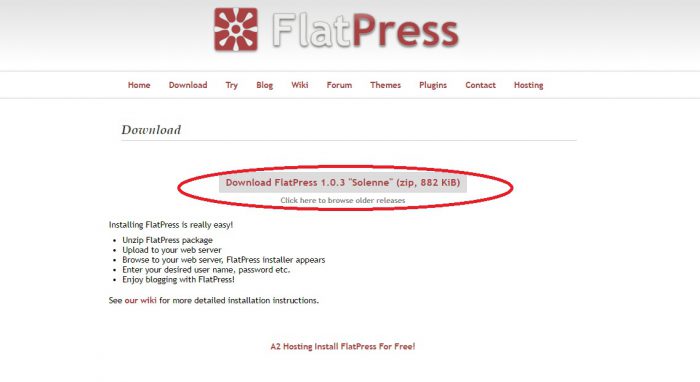
wget https://github.com/evacchi/flatpress/archive/v1.0.3.zip
解凍
unzip v1.0.3.zip
配置
mv flatpress-1.0.3/ /usr/local/nginx/html/flat
URLアクセス

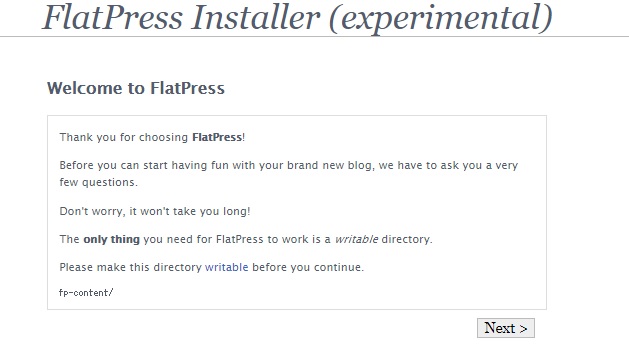
アクセス権の付与
chmod -R 777 flat/fp-content/
ああ、うちのPHP7の環境では動かないみたい
ログインユーザ名、パスワードを指定できたものの、画面が真っ白のままだ。