root@webarena01:/home/ubuntu# cp -p /etc/ssh/sshd_config /etc/ssh/sshd_config.bak
root@webarena01:/home/ubuntu# sed -i '1s/^/PubkeyAcceptedAlgorithms=+ssh-rsa\n/' /etc/ssh/sshd_config
root@webarena01:/home/ubuntu# systemctl restart sshd
root@webarena01:/home/ubuntu# systemctl status sshd
● ssh.service - OpenBSD Secure Shell server
     Loaded: loaded (/lib/systemd/system/ssh.service; enabled; vendor preset: enabled)
     Active: active (running) since Mon 2022-05-02 04:06:24 UTC; 9s ago
       Docs: man:sshd(8)
             man:sshd_config(5)
    Process: 1983 ExecStartPre=/usr/sbin/sshd -t (code=exited, status=0/SUCCESS)
   Main PID: 1984 (sshd)
      Tasks: 1 (limit: 1119)
     Memory: 1.7M
        CPU: 27ms
     CGroup: /system.slice/ssh.service
             └─1984 "sshd: /usr/sbin/sshd -D [listener] 0 of 10-100 startups"

May 02 04:06:24 webarena01 systemd[1]: Starting OpenBSD Secure Shell server...
May 02 04:06:24 webarena01 sshd[1984]: Server listening on 0.0.0.0 port 22.
May 02 04:06:24 webarena01 sshd[1984]: Server listening on :: port 22.
May 02 04:06:24 webarena01 systemd[1]: Started OpenBSD Secure Shell server.
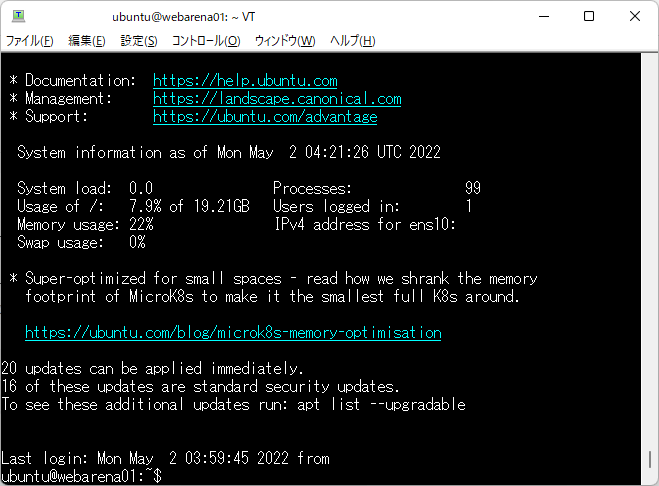
これで、Teratearmからもアクセスできるようになりました。
時刻合わせ
root@webarena01:/home/ubuntu# apt-get install ntp
root@webarena01:/home/ubuntu# ntpq -pn
     remote           refid      st t when poll reach   delay   offset  jitter
==============================================================================
 0.ubuntu.pool.n .POOL.          16 p    -   64    0    0.000   +0.000   0.000
 1.ubuntu.pool.n .POOL.          16 p    -   64    0    0.000   +0.000   0.000
 2.ubuntu.pool.n .POOL.          16 p    -   64    0    0.000   +0.000   0.000
 3.ubuntu.pool.n .POOL.          16 p    -   64    0    0.000   +0.000   0.000
 ntp.ubuntu.com  .POOL.          16 p    -   64    0    0.000   +0.000   0.000
+133.130.121.141 103.1.106.69     2 u    3   64    3    1.451   -1.162   7.126
+129.250.35.251  204.2.140.74     2 u    3   64    3    2.656   -1.073   7.271
*138.3.216.120   133.243.238.244  2 u    5   64    3    3.020   -1.095   7.520
+118.27.19.72    133.243.238.163  2 u    6   64    3    1.087   -0.969   7.583
#162.159.200.1   10.23.8.4        3 u    2   64    3   52.920  -14.233   6.845
+45.76.211.39    131.112.125.48   2 u    5   64    3    1.930   -0.034   7.374
-129.250.35.250  204.2.140.74     2 u    2   64    3    2.862   -1.295   6.831
#103.202.216.35  210.173.160.57   3 u   57   64    1   23.385   -8.552   3.055
#108.61.223.189  103.1.106.69     2 u    3   64    3  108.402  -53.949   7.182
-185.19.184.35   193.204.114.233  2 u    2   64    3  222.869   +1.370   7.198
#162.159.200.123 10.23.8.4        3 u   57   64    1   52.400  -17.686   3.155
+66.118.230.14   242.71.143.169   2 u    1   64    3  116.255   +1.530   6.839
 91.189.91.157   194.58.200.20    2 u    3   64    3  180.979   -3.828   7.740
+160.16.113.133  118.27.107.147   3 u    3   64    3    1.439   -1.627   6.662
 91.189.89.199   17.253.108.125   2 u   69   64    2  229.992   -5.607   0.000
-217.91.44.17    192.168.100.15   2 u   57   64    1  262.127   +2.035   2.959
時刻を日本時間に
root@webarena01:/home/ubuntu# date
Mon May  2 04:23:23 UTC 2022
root@webarena01:/home/ubuntu# cp /etc/localtime /etc/localtime-
root@webarena01:/home/ubuntu# ln -sf /usr/share/zoneinfo/Asia/Tokyo /etc/localtime
root@webarena01:/home/ubuntu# date
Mon May  2 13:23:58 JST 2022
root@webarena01:/home/ubuntu/SoftEtherVPN_Stable# ./configure
---------------------------------------------------------------------
SoftEther VPN for Unix

Copyright (c) Daiyuu Nobori.
Copyright (c) SoftEther VPN Project, University of Tsukuba, Japan.
Copyright (c) SoftEther Corporation.
Copyright (c) all contributors on SoftEther VPN project in GitHub.

License: The Apache License, Version 2.0

Read and understand README.TXT, LICENSE.TXT and WARNING.TXT before use.
---------------------------------------------------------------------

Welcome to the corner-cutting configure script !

The Makefile is generated. Run 'make' to build SoftEther VPN.
makeします
make
省略
make install
省略
--------------------------------------------------------------------
Installation completed successfully.

Execute 'vpnserver start' to run the SoftEther VPN Server background service.
Execute 'vpnbridge start' to run the SoftEther VPN Bridge background service.
Execute 'vpnclient start' to run the SoftEther VPN Client background service.
Execute 'vpncmd' to run SoftEther VPN Command-Line Utility to configure VPN Server, VPN Bridge or VPN Client.
--------------------------------------------------------------------
サーバを起動します
root@webarena01:/home/ubuntu/SoftEtherVPN_Stable# vpnserver start
The SoftEther VPN Server service has been started.
Let's get started by accessing to the following URL from your PC:
https://***.***.***.***:5555/
or
Note: IP address may vary. Specify your server's IP address.
A TLS certificate warning will appear because the server uses self signed certificate by default. That is natural. Continue with ignoring the TLS warning.
サーバ設定移設
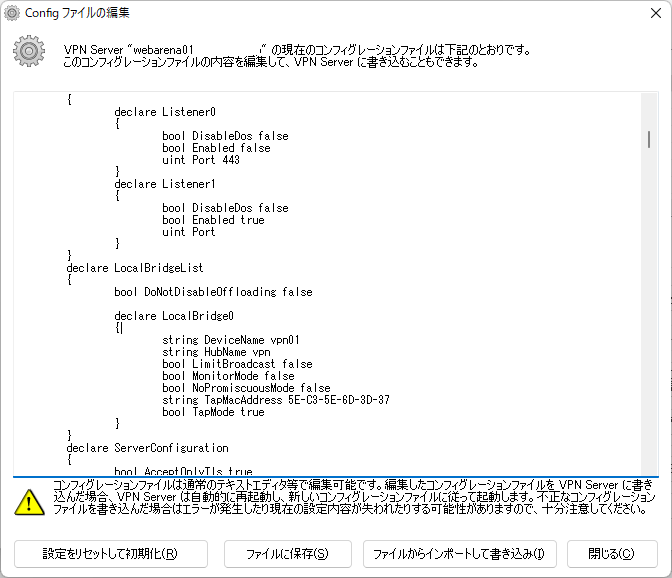
今回は、サーバ設定を移設するので、サーバのコンフィグをダウンロードしておきます。
VPNサーバのコンフィグレーションを表示させ、「ファイルに保存」をクリック
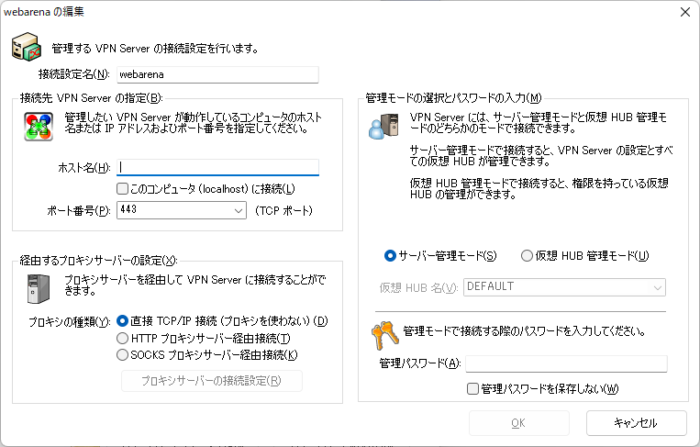
新VPNサーバの管理画面にアクセス
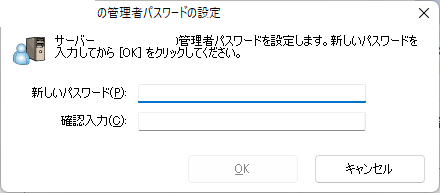
初回接続時にパスワードを設定するように求められます
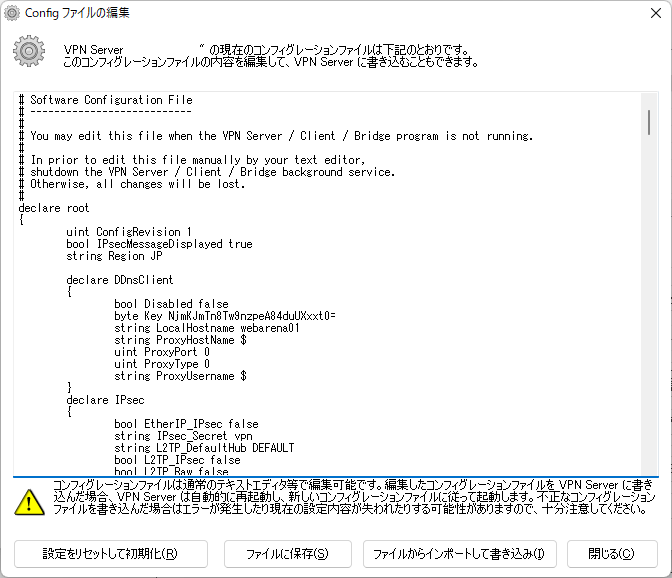
設定を反映
設定をインポートします。
ファイルからインポートして書き込みをクリック
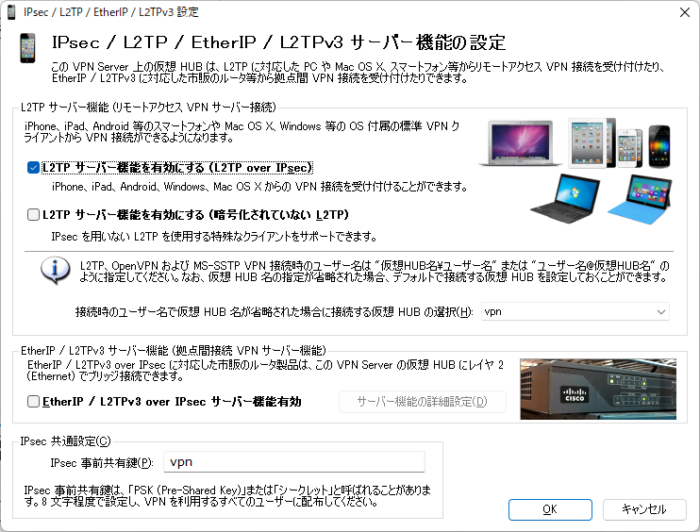
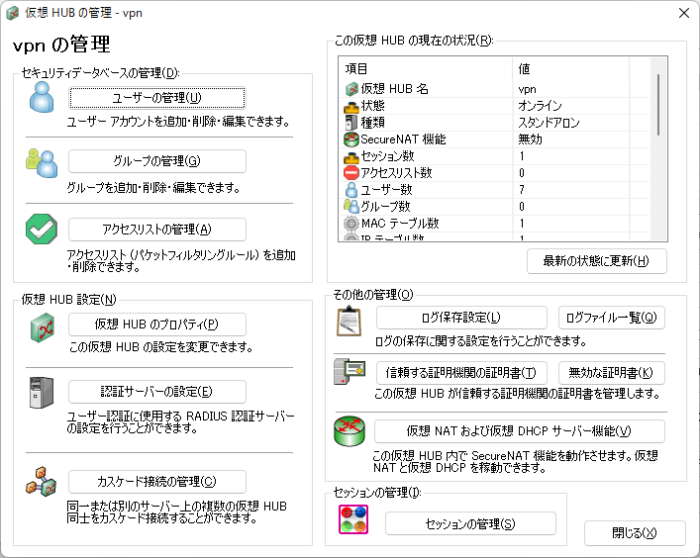
iPadからアクセス可能へ
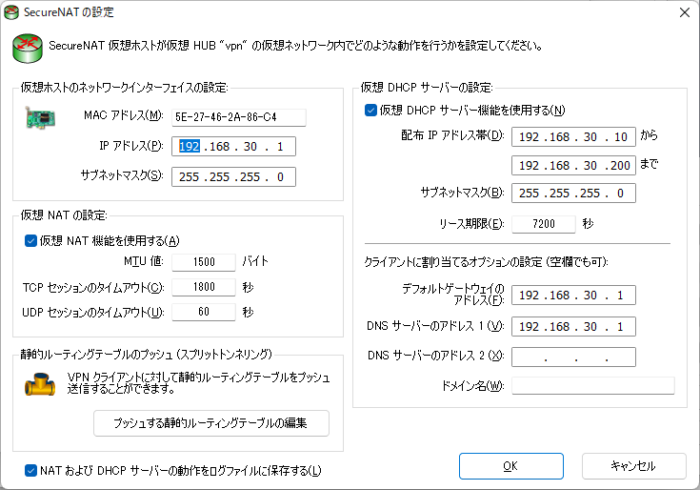
SecureNATを設定します。
仮想NATおよび仮想DHCPサーバ機能を有効にします。
SecureNATで利用するIPアドレス体系を入力します
これでiPadからもアクセス可能な状態になりました。
Softehterの自動起動スクリプト設定
root@Cloudn01:/etc/init.d# cat vpnserver
#!/bin/sh
### BEGIN INIT INFO
# Provides: vpnserver
# Required-Start: $local_fs $network
# Required-Stop: $local_fs $network
# Default-Start: 2 3 4 5
# Default-Stop: 0 1 6
# Short-Description: SoftEther VPN Server
# Description: SoftEther VPN Server
### END INIT INFO

DAEMON=/usr/bin/vpnserver
LOCK=/var/lock/vpnserver

test -x $DAEMON || exit 0

case "$1" in
start)
$DAEMON start
touch $LOCK
;;
stop)
$DAEMON stop
rm $LOCK
;;
restart)
$DAEMON stop
sleep 3
$DAEMON start
;;
*)
echo "Usage: $0 {start|stop|restart}"
exit 1
esac

exit 0